
Proper hearing aid maintenance is essential for making sure your devices last long and work well. Hearing aids typically last between five and seven years, and with good care, they can be reliable companions throughout this period. In this guide, we’ll share some easy tips and best practices to keep your hearing aids in top condition.
In This Article:
General Tips
1) Avoid Moisture
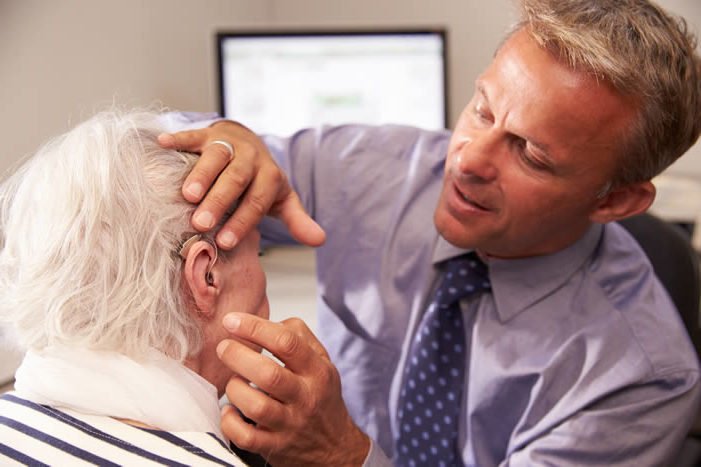
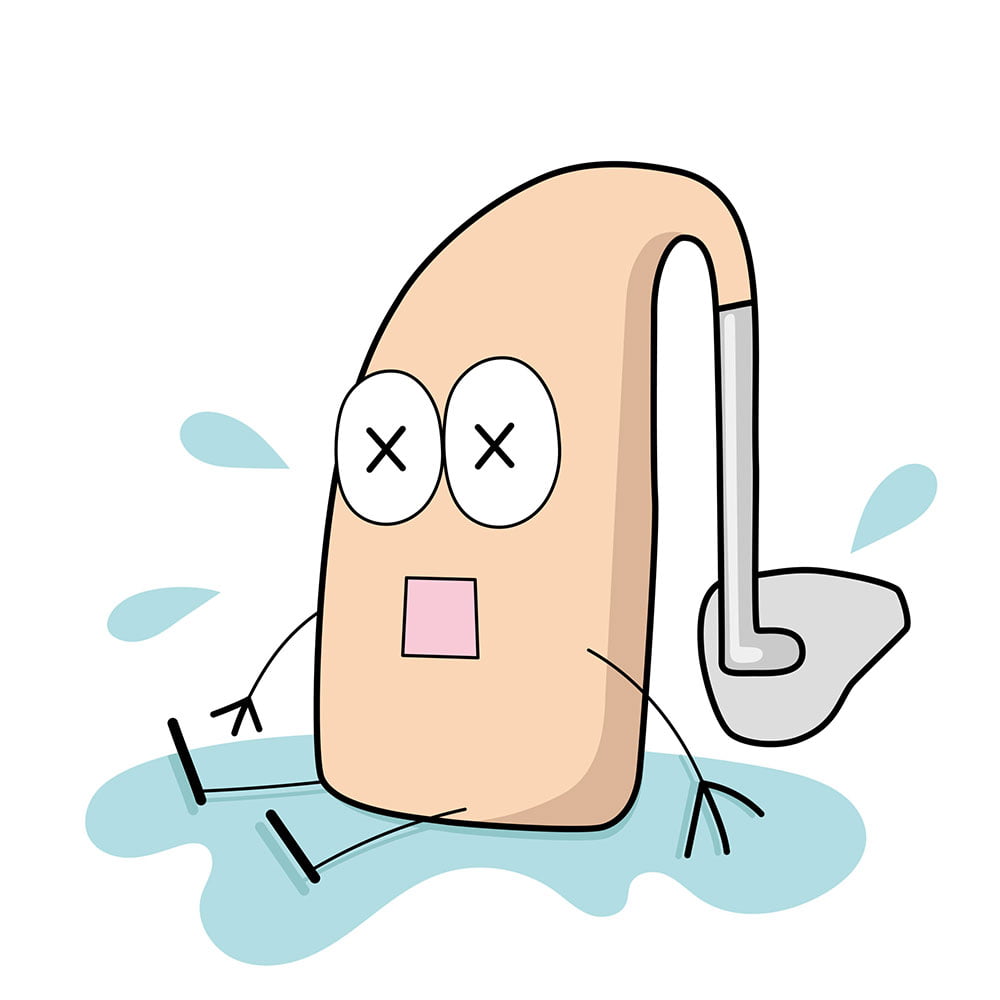
Like many electronic devices, hearing aids don’t fare too well when exposed to water. It may seem obvious, but make sure that you always remove your aids before heading to the shower, bath or pool. Similarly, it’s not a bad idea to remove them before washing your face and brushing your teeth – a little caution can go a long way.
2) Beware the Hair
It’s always wise to remove your hearing aids before styling your hair – whether it be at a barbershop, hairdressers, salon or even at home, it’s best to take them off beforehand, especially if you’re using any haircare or styling products such as hair gel or spray. That way you can safely avoid any potential clogs or nasty chemicals getting on your aids.
3) Safe, Dry, and Clean
‘Never work with animals or children’ goes the saying from the world of films and theatre, and it’s true of hearing aids as well: not only are they a choking hazard, but they’re also delicate things that can sustain damage easily if handled roughly. So, if you have kids or pets, it’s preferable to keep them out of reach. In terms of storage, it’s a good idea to keep them somewhere cool and dry, preferably a dry box like these. This is especially true if you’re at the gym or going to the beach, and, if you’re out and about, never leave your hearing aids behind in your car when it’s either very hot or cold.


4) Don't Do It Yourself
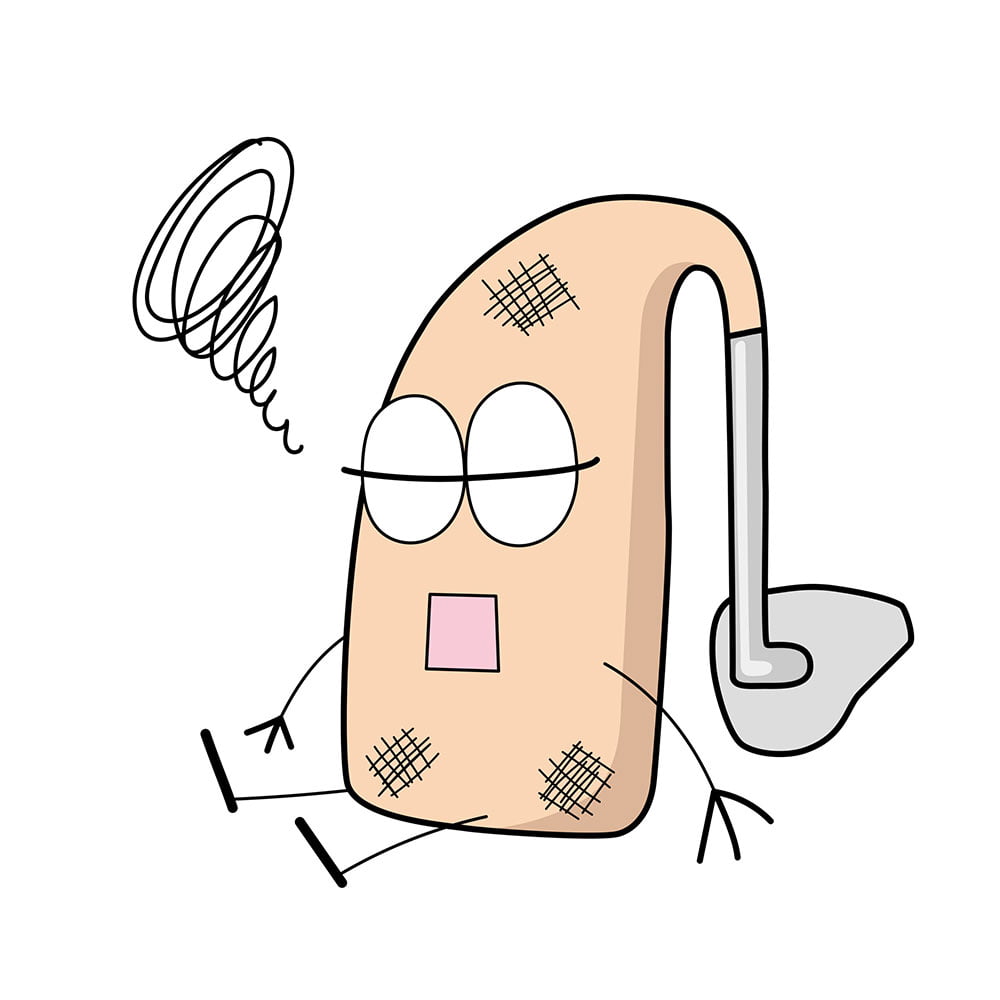
Although it may seem tempting to try a home repair if your hearing aids aren’t functioning correctly, such complicated little devices require expert care. Beyond a simple cleaning, you should always leave the internal mechanisms to the professionals – never take them apart and alter the electronic components as it may result in further damage.
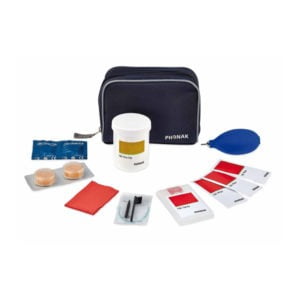
Useful Maintenance Tools
Investing in the right tools can significantly ease the process of maintaining your hearing aids. If you’re serious about taking care of them, then it’s worthwhile to invest in a few extra items that can really help you out. Some of the best and most convenient tools are as follows:
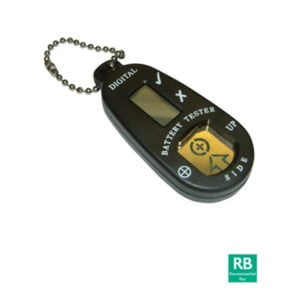
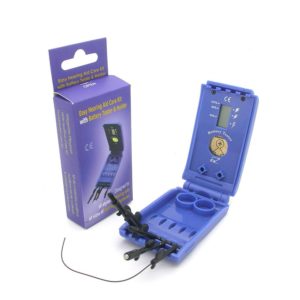
1) Battery Tester
Great for use on the go, a simple battery tester is a useful solution for when you’re out and about and unsure of your charge. You can find one here.
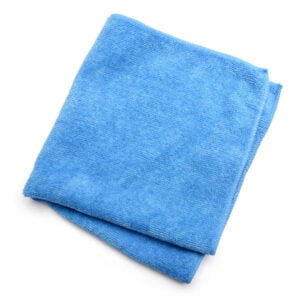
2) Dry, Soft Cloth
A generic cloth can come in handy, especially when you suspect excess moisture or dirt on your hearing aids. In-The-Ear (ITE) and Receiver in the Canal (RIC) hearing aids are more susceptible to wax problems due to their placement deep within the ear canal
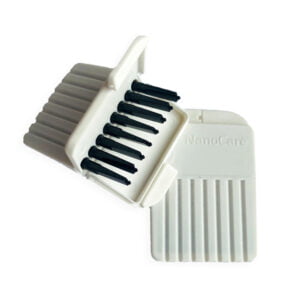
3) Wax Guards
An extremely useful little tool, wax guards help repel earwax and moisture buildup. Great for keeping your hearing aids clean. You can find a selection here.
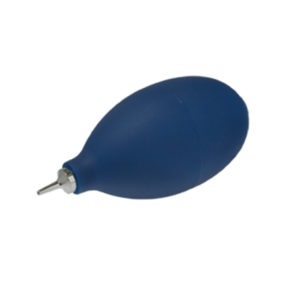
4) Forced Air Blower
Also known as ‘air puffers’, these handheld gadgets are very useful for removing dust, wax and dirt out of hearing aids after cleaning. Take a look here.
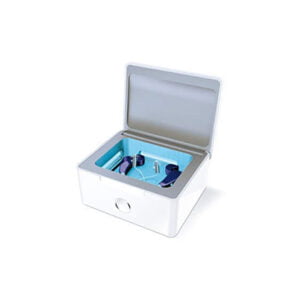
5) Drying/Dehumidifying Unit
Whether it’s in the form of a handy little bag or a specialized, high-tech electronic drying station, a safe place to store and dry your hearing aids is a vital tool to have. Some of the options are here.
Daily Hearing Aid Care
There are certain little things that you can do each and every day that will really improve the maintenance of your hearing aid. Let’s take a look at a few:
1) Battery Test
For hearing aid wearers whose devices use traditional hearing aid batteries, a battery testing device (as the one shown above) can be a useful tool to start the day with. Most batteries will last a week or two, however, it’s always a good idea to keep on top of their charge in case you get stranded without enough power. As an added tip, it’s good practice to keep an extra set of batteries on your person if you know you’re going to be out for a while.
2) Clean & Dry
Whether it’s first thing in the morning or last thing at night, it’s absolutely imperative to keep your hearing aids clean at all times. Use a dry, soft cloth to get rid of pesky dust, grime and dirt and your ears will certainly appreciate it!
After a long day, hearing aids collect moisture and dirt. That’s why it’s a good idea to invest in a drying or dehumidifying unit that removes it overnight. If you’re active during the day, it could be useful to remove the batteries and keep the battery door open to dehumidify the inside too.
3) Sound Check
Even though it’s likely your hearing aids were programmed at the dispensary by your audiologist, it’s nevertheless important to make sure that your devices provide crystal clear sound every day. You can use a hearing aid listening tube to check the sound of your hearing aids – they’re relatively simple devices that resemble a stethoscope, only designed to measure the ambient sound of your hearing aids. If you discover any feedback or whistling noises, then it can be worthwhile to take your devices back to the hearing care provider.
Weekly Hearing Aid Care
Taking a few moments each week to perform thorough cleaning and maintenance on your hearing aids can significantly enhance their performance and longevity. Here are the key tasks to include in your weekly care routine:
1) Thorough Cleaning
- Forced Air Blower: Use a forced air blower to gently remove any dust, wax, or debris from your hearing aids. This tool helps keep the microphone and receiver openings clear.
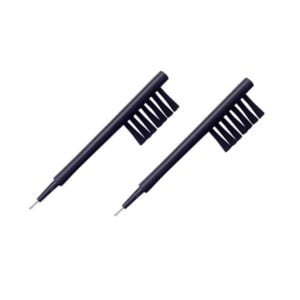
- Pick and Brush: Invest in a small pick and brush to clean hard-to-reach areas. Gently remove any wax or debris that may have built up over the week.
2) Ear Mould Maintenance for BTE Hearing Aids
- Soaking: Remove the earmolds and soak them in warm, soapy water. This helps dissolve any earwax or debris.
- Rinse and Dry: Rinse the moulds thoroughly with clean water and ensure they are completely dry before reattaching them to the hearing aids. Use a drying box or dehumidifier if available.
3) Check for Moisture
- Drying Unit: Use a specialised drying unit or dehumidifying bag to remove moisture from your hearing aids. These tools are particularly useful if you live in a humid climate or sweat a lot.
- Battery Compartment: Open the battery compartment to allow any moisture to evaporate. Remove the batteries during this process to avoid corrosion.
4) Check Wax Guards and Filters
- Wax Guards: Replace wax guards as recommended by the manufacturer, typically every few weeks or sooner if they appear clogged.
- Filters: Ensure that the filters are clean and free of debris. Replace them if necessary to maintain sound quality.
5) Important 'Do Nots'
- Do Not Submerge: Never submerge your hearing aids in water as it can cause irreparable damage.
- Avoid Chemicals: Do not use alcohol or baby wipes on your devices as chemicals can harm the delicate components.
- No Hair Dryers: Avoid using a hair dryer to dry your hearing aids. The excess heat can damage the electronics.

Earwax: Keeping Your Hearing Aids Wax-Free
Also known by the medical term ‘cerumen,’ earwax is a naturally occurring substance that has antibacterial and lubricating properties, protecting your ears from germs and dirt. Unfortunately, it can often be produced in excess, which can lead to complications, especially in later age.
It’s recommended that you do not use cotton buds or any foreign object to remove wax. This can result in impacted wax – when the wax becomes forced together into a lump of solid mass – which in turn can be difficult to remove without a specialist. Instead, you should use ear oil to displace the wax: this can be done once each day before you sleep for a week (or longer if necessary).
Remember that with hearing aids, you’re regularly blocking your ears. This means that wax build-up is far more likely, as the normal route that wax would take out of your ears is otherwise occupied. For this reason, it’s a good idea to invest in wax guards or filters. These should be replaced approximately every six months. If your devices have tubes, you may see some build-up occur inside. You should contact your audiologist to learn how to safely remove and clean these parts, as each brand will differ.
Common Issues and How to Address Them
1) Why Is the Sound So Low?
If the sound from your hearing aids is consistently low, check the battery first. For traditional batteries, use a tester to see if they need replacing. For rechargeable hearing aids, ensure they are fully charged. Low sound can also be due to outdated programming. As your hearing changes, your settings may need adjustment, so consider booking an appointment with your audiologist to have them reprogrammed.
2) Why Are My Hearing Aids Whistling?
Hearing aids sometimes produce a high-pitched whistle or feedback sound. This can be due to earwax buildup, the volume being set too high, or ill-fitting ear moulds. Poorly programmed hearing aids and minor damage to the microphone and/or tubing can also cause this issue. As with the above, if thoroughly cleaning the aids and adjusting the volume doesn’t fix the issue, the best course of action would be to book an appointment with your hearing care provider.
3) Hearing Aid Won't Turn On
If your hearing aid won’t turn on, it could be due to a dead battery, a malfunctioning battery compartment, or internal damage. Ensure the battery is properly inserted and functional. If the issue persists, consult your audiologist for a thorough check-up and repair.
4) Distorted or Unclear Sound
Distorted sound can be caused by moisture damage, debris in the microphone and speaker, or programming issues. Regularly clean your hearing aids to prevent buildup. If the problem continues, have your hearing aids inspected by a professional.
5) Hearing Aids Feel Uncomfortable
If your hearing aids feel uncomfortable, it might be due to an ill fit. Our bodies change over time, and this includes our ears, affecting how hearing aids fit and feel. If the discomfort persists, make sure to book an appointment with your audiologist to have them adjusted or remoulded for a better fit.
When to Seek Professional Help
While regular maintenance can keep your hearing aids in good condition, there are times when you need the expertise of a hearing care professional. Here are some signs that indicate it’s time to consult an audiologist:
1) Persistent Issues With Sound Quality
If you notice persistent issues with sound quality, such as distortion, fading, or static, it’s a sign that something may be wrong internally. Professional cleaning and recalibration can help restore optimal performance.
Similarly, if you experience frequent feedback or whistling noises, and cleaning doesn’t resolve the issue, it could indicate a problem with the fit or internal components that requires professional adjustment.
2) Physical Damage
Cracks or breaks in the casing can compromise the functionality and protection of the internal components. It’s essential to get these repaired promptly to prevent further damage. Also, if any parts of your hearing aids are loose or visibly damaged, it’s important to seek professional help. Attempting to fix these yourself can cause more harm than good.
3) Discomfort
If your hearing aids cause pain, irritation, or discomfort, or if you feel pressure points that weren’t there before, it could be due to improper fit or ear canal changes. An audiologist can make adjustments or help with obtaining new moulds to ensure a comfortable fit.
4) Battery Issues
If your batteries are draining unusually fast despite following proper care guidelines, it might indicate an internal issue with the hearing aids’ circuitry that needs professional attention.
For rechargeable hearing aids, if you encounter issues with charging or the battery life doesn’t seem to hold, a professional check-up is likely necessary.
5) Connectivity Problems
If your hearing aids have Bluetooth connectivity and you experience problems pairing them with your devices or maintaining a stable connection, an audiologist can help troubleshoot and resolve these issues.
Sometimes, hearing aids require firmware updates to function properly. An audiologist can perform these updates and ensure your devices are operating with the latest software.
Conclusion
Properly cleaning and maintaining your hearing aids can significantly extend their lifespan and improve your overall experience with them. By adopting an effective routine and using the right maintenance tools, you can ensure your aids function optimally and remain reliable companions.
Investing in the right maintenance products and replacement parts can make all the difference. At Hearing Aid Accessories, we offer a wide range of high-quality products to help you keep your devices in top condition. From battery testers and wax guards to dehumidifiers and cleaning tools, we’ve got everything you need to maintain your hearing aids effectively. Click the button below to browse our shop and find the products that best suit your needs.