Description
Changing wax guards depends entirely on personal use and ear wax build-up. Most hearing aid users will change their wax guard every 3-4 weeks, yet for others, it could be fortnightly or every other month. Monitor your own ear wax production, and you can do this every time you clean your hearing aid (we recommend this every night). If your wax guard is clogged or the sound quality has started to dip, you will know that it is time for a change.
When it comes to changing your wax guard, be sure to clean the area around the guard to remove all the wax from the receiver before entering a new one.
How to use:
These steps will work for many hearing aids. However, if your hearing aid has a dome, you will need to take this off before changing your wax guard. To change your wax guard, follow this simple process:
- A new wax guard will typically come mounted to the end of a tool that looks like a stick, and on the other end of the tool, you will have a pin.
- Remove the tool from the package and push the pin into the used wax guard.
- Gently pull the tool until the used guard is released.
- After the used guard has been removed, you will need to insert the new guard. Use the tool to place the new guard into the speaker/ receiver.
- Remove the tool, and the new guard should be securely housed in your hearing aid ready for use.
Compatibility:
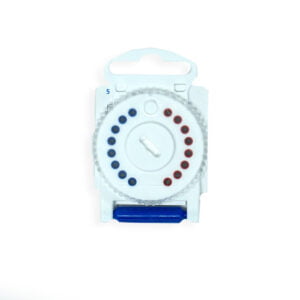
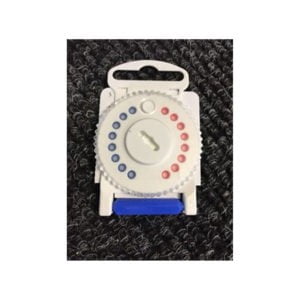
Starkey Hear Clear Wax guards are designed for Starkey RIC, CIC, ITC & ITE hearing aids.
Features and benefits:
- Lightweight and portable
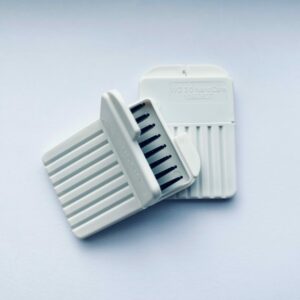
- Carry case for new and used wax guard sticks
- Easy removal and insertion
- Ergonomic shape for better grip
Included in the box:
- 8 wax guard sticks
*AVAILABLE AS A BUNDLE – 3 FOR £20.99 CLICK HERE *


